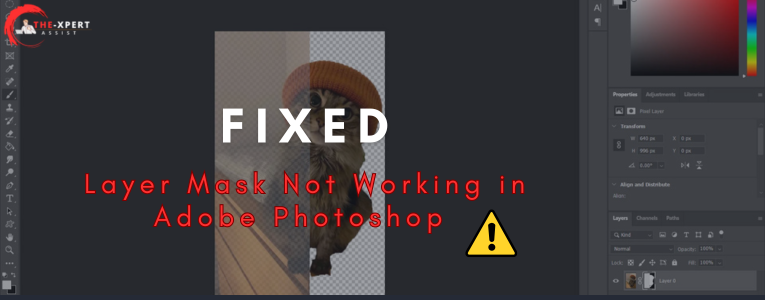
Photoshop 2022 layer masks are one of the most critical tools for non-destructive editing. Whether you are merging images or composites, this feature cranks up visibility control, and the best part? You can always roll it back or modify it.
Here is how to use layer masks in Photoshop 2022, step by step.
What is a layer mask?
With a layer mask, you can show any part of a layer you want with non-destructive removal.
White = shows the layer
Black = hides the layer
Gray = A Touch of (Obscure)
Super useful for combining images, applying effects to parts of your photo, or restoring broken parts of your image!
Why should you use layer masks in Photoshop 2022?
-
Non-destructive editing
-
Cleaner layer blending
-
Easy adjustments at any time
-
Compatible with the Brush, Gradient, and Selection tools
Step-by-Step: Using Layer Masks in Photoshop 2022
Step 1: Open Your Document
Launch Photoshop 2022 and open your image or project (File > Open).
Step 2: Select the Target Layer
In the Layers panel, click on the layer you want to apply a mask to.
If the Layers panel isn’t visible, enable it from
Window > Layersor press F7.
Step 3: Add a Layer Mask
Click the Add Layer Mask icon at the bottom of the Layers panel (a rectangle with a circle in it).
You’ll see a white thumbnail appear next to your layer — that’s the mask.
Step 4: Choose the Brush Tool (B).
In the Tools panel, click the Brush Tool, or press B on your keyboard.
-
Set foreground color to black = hides
-
Set foreground color to white = reveals
Use a soft round brush (adjust size and hardness via the top Options bar or right-click menu).
Step 5: Paint on the Mask
Click the mask thumbnail to ensure it’s selected (you’ll see a border around it).
-
Paint with black to hide parts of the image.
-
Switch to white to bring them back.
-
Use opacity and flow settings for subtle transitions.
Shortcut Tip: Press X to swap between black and white quickly.
Step 6: Use Gradient Tool for Smooth Fades
Press G or select the Gradient Tool.
Choose a black-to-white linear gradient from the top bar, then click and drag across the mask to create a smooth transition.
Perfect for photo blending or subtle fade-outs.
Step 7: Refine the Layer Mask (Photoshop 2022 Specific)
In Photoshop 2022, refining is more intuitive:
-
Click on the layer mask thumbnail.
-
Go to the Properties Panel (
Window > Properties) -
Use options like
-
Feather—softens the mask edge
-
Density—controls transparency
-
Select and Mask—advanced edge refinement
-
Troubleshooting in Photoshop 2022
Mask not working? Select the mask thumbnail, not the image.
Brush tool doing nothing? Look for opacity/flow in the top bar.
Can’t see changes? Then zoom in and set the Feather/Density in the Properties panel.
Pro Tips
-
Alt/Option + Click the mask thumbnail to view it in black & white.
-
Shift + Click disables the mask temporarily.
-
Ctrl/Cmd + click the mask to create a selection from it.
-
Alt/Option + Drag a mask to copy it to another layer.
Layer Masks in Practice
Two images combined into one (e.g., sky replacement)
Create double exposures.
Blur the background and image to focus on a note.
Apply soft vignettes or border effects.
Adjustments to control from adjustment layers.
Final Thoughts
If layer masks are part of your workflow, then you will be thrilled at the enhancements available to you in Photoshop 2022. Mastering how to use layer masks will change how you edit, no matter your experience level; learn that technique as a beginner or pro.


![Error 205: Installation Failed in Adobe Photoshop – How to Fix It [2025 Guide] Error 205 Installation Failed in Adobe Photoshop](https://thexpertassist.com/wp-content/uploads/2025/08/Error-205-Installation-Failed-in-Adobe-Photoshop.png)


